

How To Clean Polishing Pad For Drill After Use
In this article, I'll discuss unproblematic, yet important means of cleaning your polishing pads both during and after performing polishing work.
After purchasing a make new polishing pad, we throw it on the polisher, get some polish on information technology, and have our fashion with the swirls on the vehicle's paint. Once done with the section, we wipe off the polish rest and below we notice a greatly improved finish that is simply glowing. Fast forwards 1 60 minutes, we're using the aforementioned pad, smoothen and machine on a section of unpolished paint, but afterwards wiping off the residue we realize the results are simply not the aforementioned every bit the start few sections.
Why?
Due to their nature, polishing pads will blot oils and abrasives from the polishes used with those pads. Over a certain period of time and after a certain number of polished panels on the vehicle, the pads will get saturated with both the contents of the polish likewise equally paint removed from the vehicle during polishing. Due to this saturation, the pads volition not merely lose their cosmetic ability, but we'll also see splatter coming out of pads due to all the smooth and pigment residue sitting inside the pads' pores. Dusting at this point is almost a sure thing with most machines.
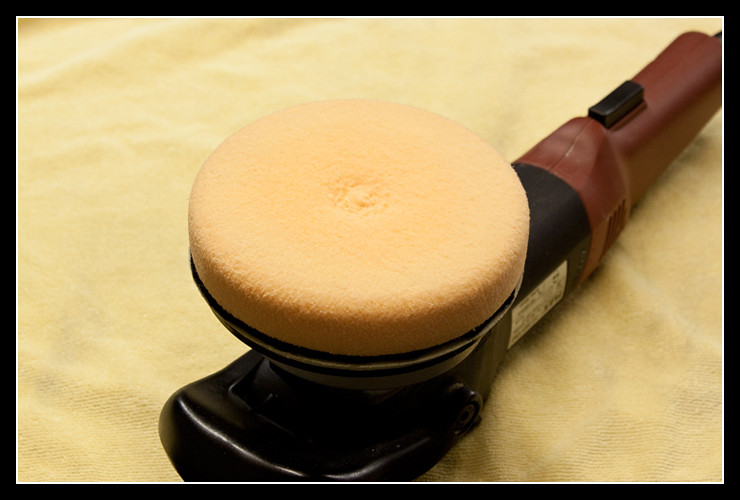
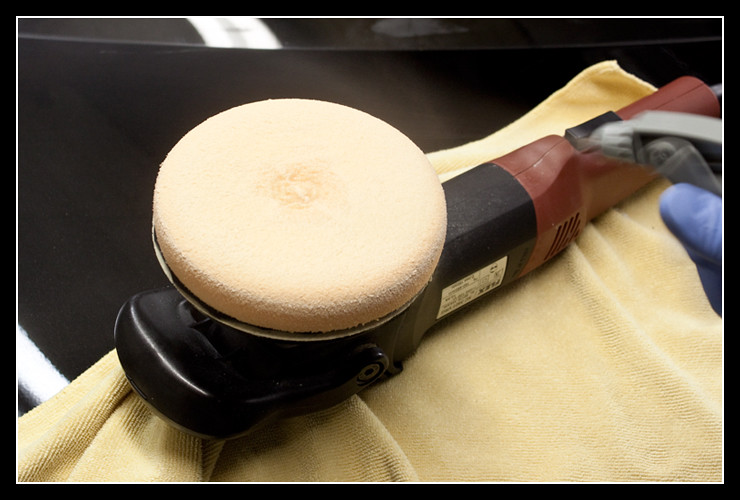
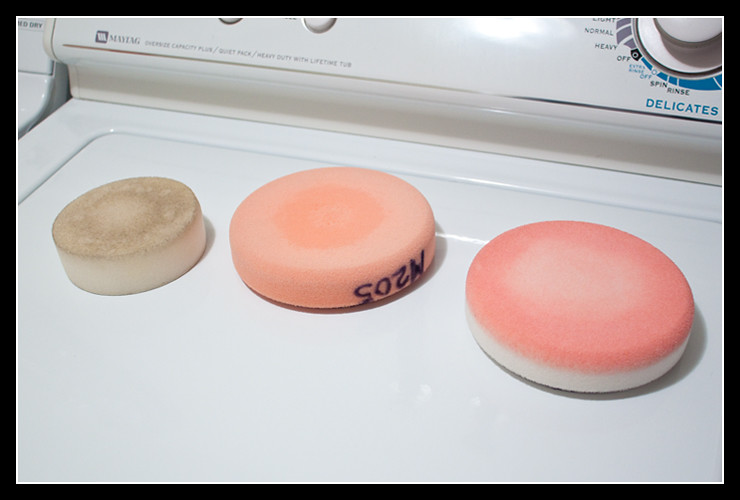
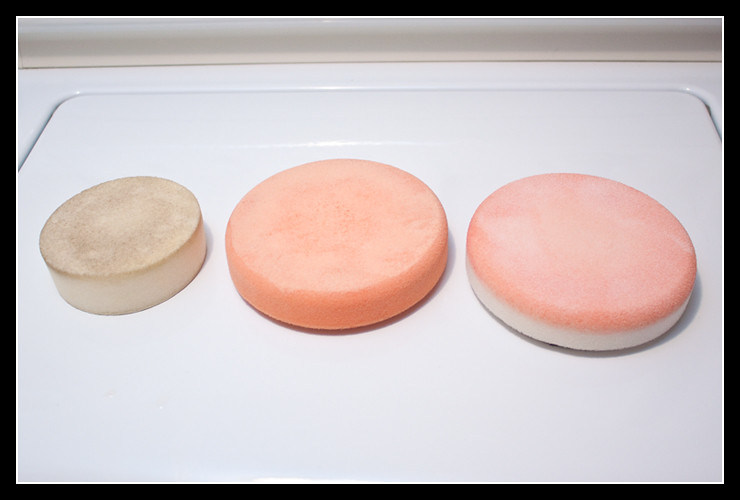
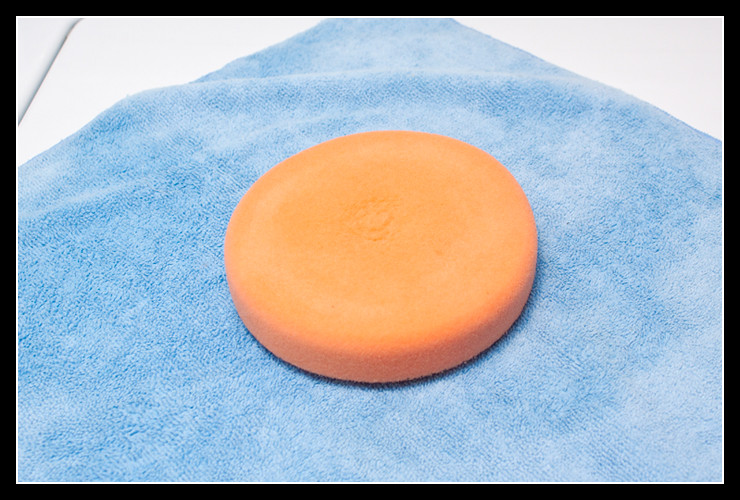
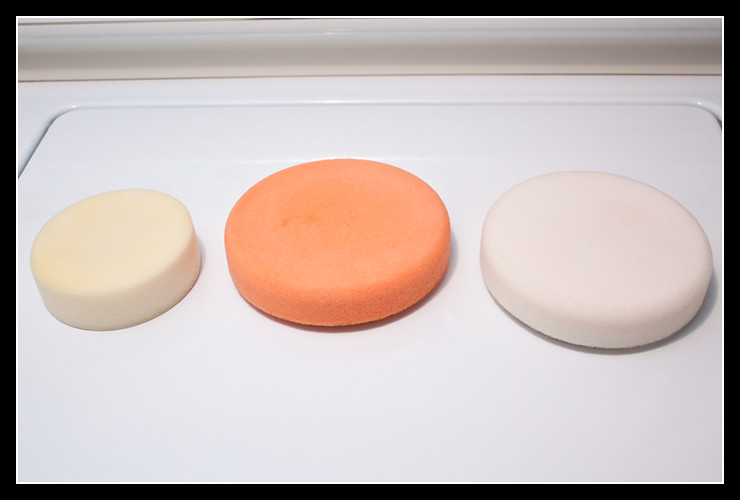
Hither you can encounter the difference between a fresh pad that has been used on simply two sections, roughly the size of a torso chapeau, and one that's been used for a lot longer during the aforementioned polishing session.
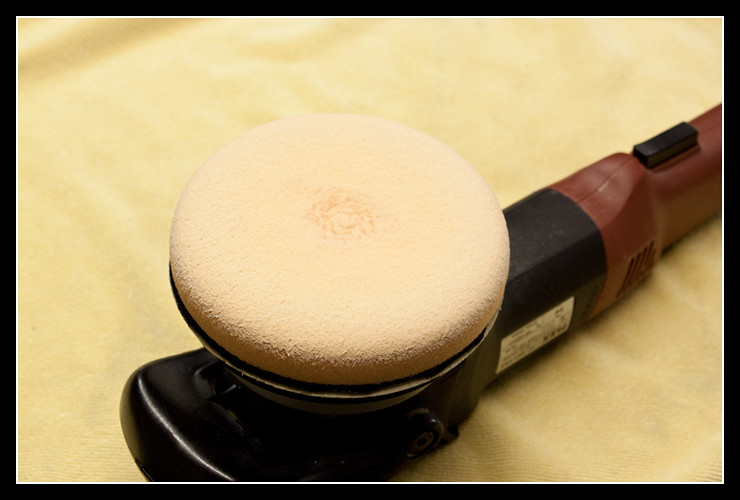
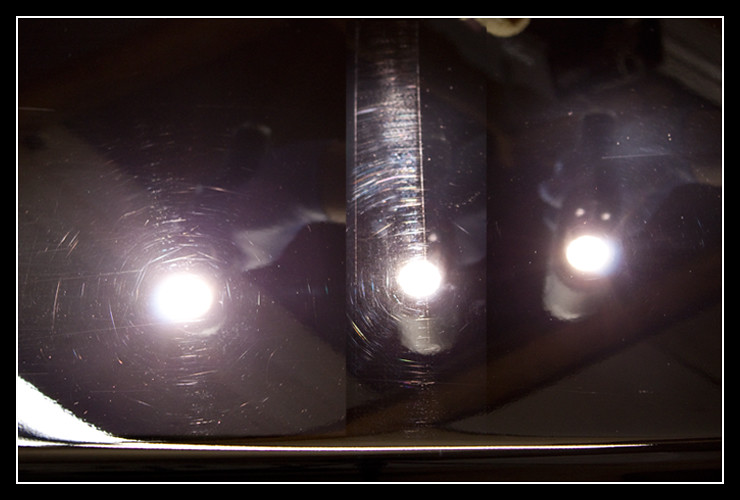
As you can meet, the pad in the 2d photo is completely saturated with smoothen and needs to be cleaned. Beneath is a side by side comparison of two sections polished with the same machine, aforementioned speed, aforementioned pad and same polish showing different results due to ane pad beingness over saturated and over used. This is composed of three dissimilar photos so delight excuse any noticeable splices. I did it for the purpose of showing the 3 dissimilar sections well and how they compare, rather than trying to evidence off my skills of photo stitching :). While both the left and correct sections prove noticeable improvement compared to the original paint in the middle, you tin easily see how the section on the right, which was polished with a clean pad, came out much ameliorate than the section on the left, which was polished with a used, saturated pad.
How to avoid this?
There are ii ways to avoid this during a polishing chore. Best fashion is to accept spare pads of the aforementioned size and cutting ability. This way, once the original pad starts to go ineffective, you simply replace information technology with a fresh pad and continue polishing. This ensures that y'all're getting the most out of all your pads and the all-time results possible out of the paint. Fifty-fifty with the spare pads however, you lot should exist cleaning the pad after each section or two in club to remove all the rest and dust that has formed on the pad surface. Here are 2 methods to do simply that:
Cleaning pads during polishing using a plastic bristle castor
Equally mentioned above, cleaning pads during polishing is important in order to keep upwards the pad'due south cutting ability and proceed getting good results while correcting the paint. To do this, you'll merely need to purchase a pocket-sized plastic brush with adequately potent beard. Y'all can usually find such brushes at any local auto parts shop and even some grocery stores. Hither's what the couple brushes I apply look like:

Now that you take your castor, let's put information technology to good use. In one case you're done polishing a section on the vehicle and are getting ready to motility to the side by side, simply grab the polisher, flip information technology over, and plough it on while pressing the brush lightly against the pad surface.
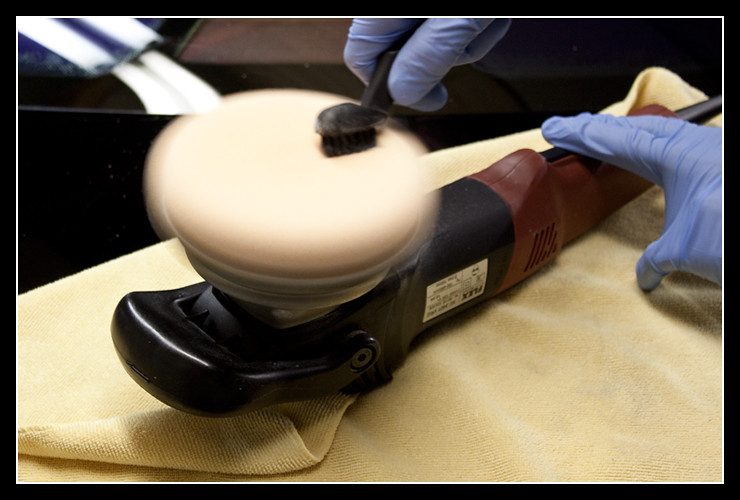

Yes, it's that unproblematic! The pad will be much cleaner for the next section and will notwithstanding provide nifty results until information technology gets too saturated and needs replacing with a fresh, make clean pad. Now you're ready to apply some more than smooth and keep working.
The machine you're using determines the method of cleaning the pad during a particular job. Equally you can probably tell, I am using a Flex XC3401 VRG polisher here, allowing me to utilize the rotating force to clean the pad. With such tools as the Porter Cable 7424XP, you're unable to practice exactly what I have described above since the pad will all but cease moving once you apply some force per unit area to it. With the PC 7424XP you can simply hold the pad so it doesn't movement and castor away the residual from the surface. As you lot may have imagined, a rotary is completely opposite and has even more rotational forcefulness than the Flex 3401XC, so it'south even easier to clean the pad.
Few notes and advice:
- You want to do this away from the vehicle so the dust doesn't get onto the paint.
- Do not utilise high pressure with the castor as you might damage the foam on the pad. Simply press it lightly confronting the surface and let the brush and polisher do the piece of work for yous.
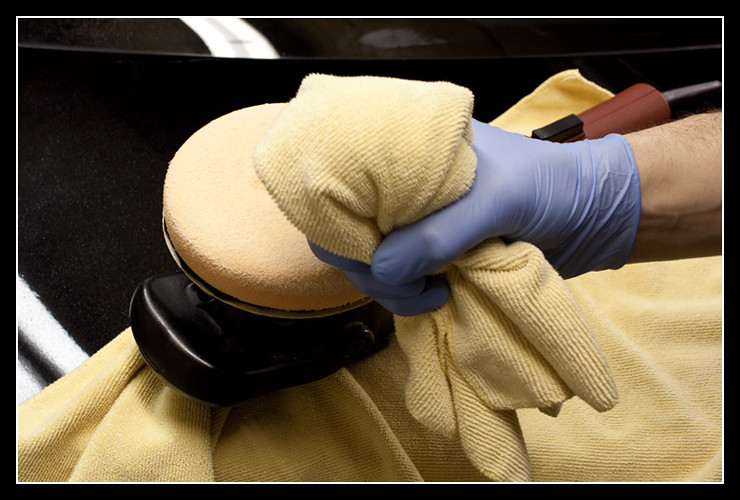
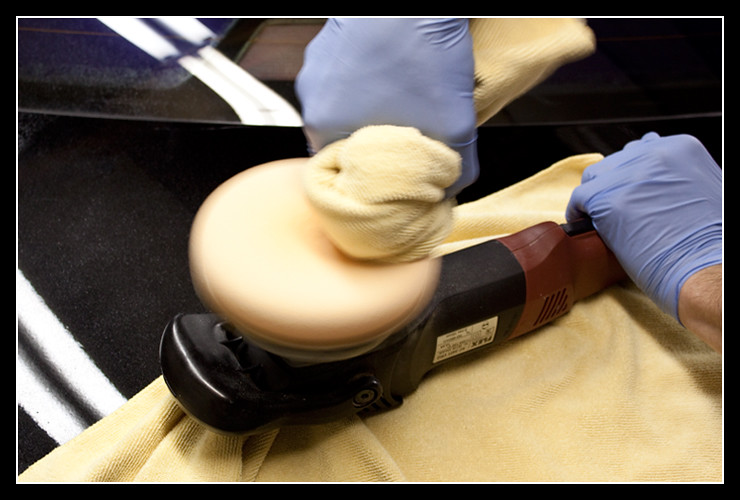
Cleaning pads during polishing using a towel
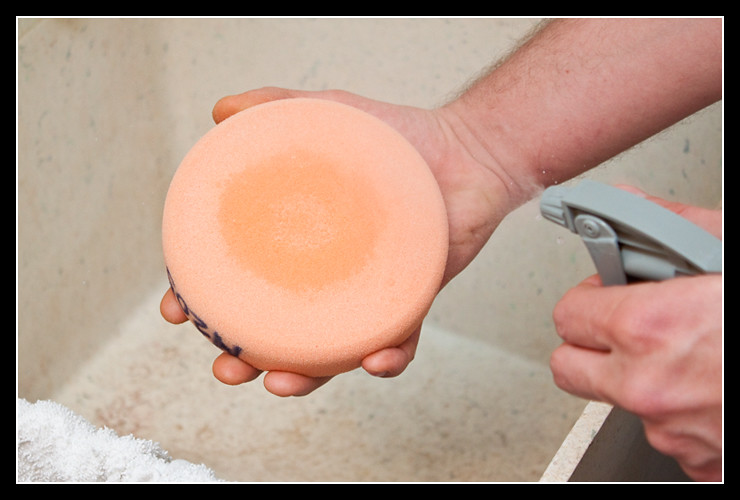
The second method of cleaning your polishing pad during a detail task tin be used in identify or after the in a higher place brushing method. For this method, you'll be using a clean full general purpose microfiber towel and some ONR in a quick detailer ratio. After finishing a section during polishing and/or subsequently performing the cleaning method mentioned higher up, you will lightly spray the pad once or twice with the ONR QD and allow information technology sit for a few seconds. And then press the microfiber towel with moderate force per unit area against the pad as you turn on the polisher. The microfiber towel will blot a lot of the residue within the pad and the ONR QD will help to soften it up and clean it off the pad's surface.
Few notes and advice:
- As with the castor method, you'll more than likely need to exercise some work yourself on a PC 7424XP or like machines due to the lack of rotational strength.
- Practice Extreme circumspection, especially if doing this on a rotary polisher. If the towel is held likewise loosely and if it's non bunched up it tin can become folded over the pad and defenseless in the spinning caput, resulting in anything from the towel flight onto the floor to a broken wrist. So over again, be warned and be extremely careful when doing this on the rotary polisher.
- As with the other method, do this away from the vehicle so the grit doesn't get onto the paint.
Cleaning pads after piece of work is complete
Finally, the concluding method of cleaning the pads is done afterwards you're washed working on the vehicle for the twenty-four hours. The pads take washed their job and due to the cleaning methods above they've done it very well! Now it'due south time to make clean them up and then they're ready for next time.
Information technology's extremely important to clean the pads out immediately afterwards utilise because you lot don't want that balance to settle in the pad and go hard. Information technology'll just be a huge pain to remove later on, don't ask how I know! Make sure to practice both methods above once yous're washed working with the pads before moving onto the post-obit procedure. Now catch all the pads and movement them to the nearest sink. Make sure y'all employ a sink where your wife, fiancee, girlfriend or female parent doesn't wash clothes, dishes, etc., because you won't hear the end of it for a while. Again, don't inquire how I know.
For this, you'll merely need Meguiar'south All Purpose Cleaner Plus (APC+) in a spray bottle, diluted 10-fifteen:1 with h2o. Then it'll exist 10 to 15 parts water to ane part APC+. Simply spray all the pads with the APC+ "pad cleaning" spray and let them sit down, polishing surface facing up, for a good 3-v minutes. Spray each pad generously but don't exit them dripping. Also make sure to do this in a ventilated area because the aroma of APC+ is very stiff.
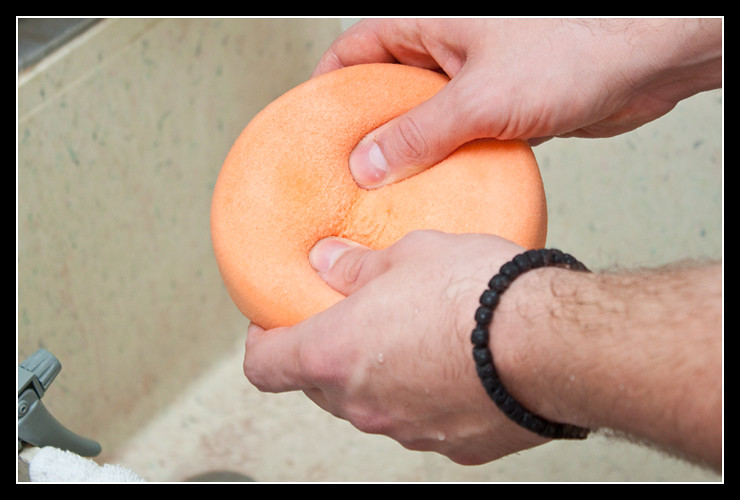
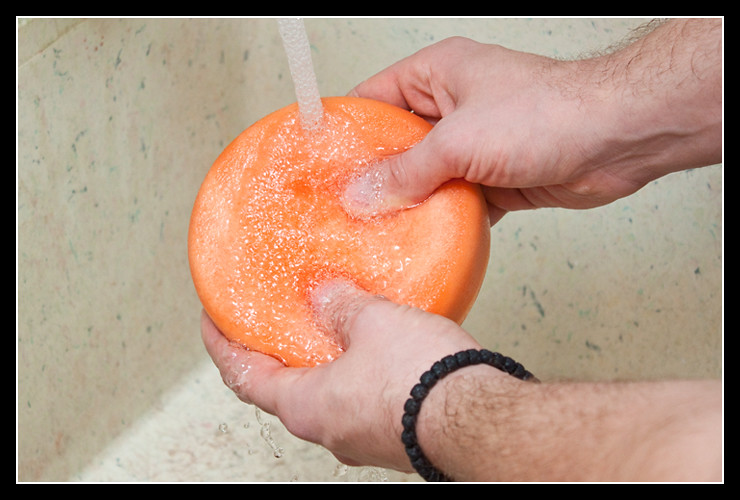
Afterward the 3-5 minutes has passed, turn on the faucet and catch 1 of the pads, preferably one yous sprayed with APC+ beginning. Concur the pad with both hands and, while supporting it from the bottom, massage the entire pad surface using your thumbs. This should have 10-15 seconds. In one case done, keep doing the same massaging on the pad surface, merely place the pad under the faucet so the water starts to rinse off the residue coming out of the pad.
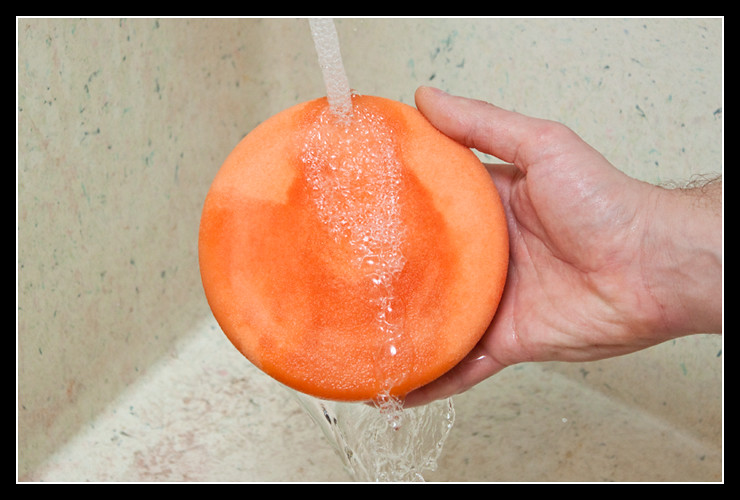
Afterward a minute or so, you should come across nigh of the residue come up out of the pad and get rinsed off. Now y'all'll want to hold the pad and then the water runs over the entire pad surface, then squeeze out every bit much as you tin can. Follow that by a picayune more than massaging of the pad surface if whatever residue remains, and then practice a final rinse and squeeze to get as much h2o out as possible.
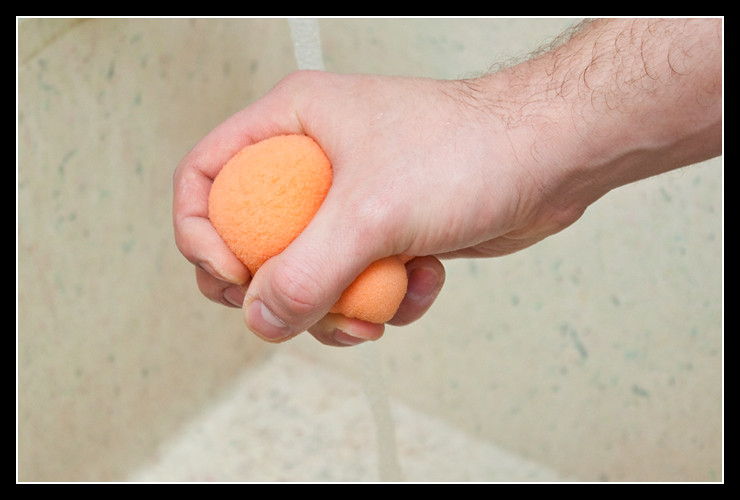
The pad is now clean and set up for drying.
Drying the pads
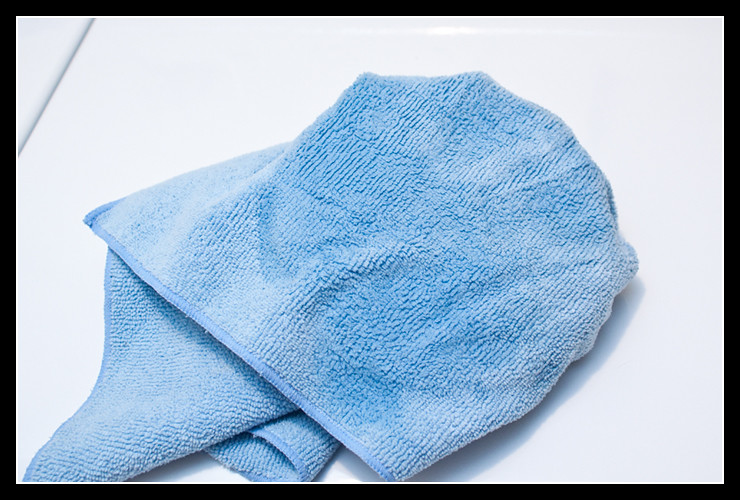
You lot take two options, air dry out or machine dry. I like to dry my pads in the machine as it tends to be quicker, but I always fix the machine to very low or no heat at all so as not to damage the pads. If you lot decide to air dry out, make certain to place the pads with the backing facing up. This will ensure the water doesn't settle past the backing and disturb the gum belongings the backing and the cream together. To help dry the pads, always concur the pad and swing it in the air a few times fairly hard to go rid of some standing water. Another pick is to utilise a rotary polisher to sling water out of the pad. Simply place the automobile head inside the sink, or outside where you won't sling water over anything important, so attach the pad and let it run for twenty-30 seconds at a pretty fast speed. In the photo below, I'm using a backing plate that'south actually larger than the pad, whereas it's probably a better idea to use i that'southward a flake smaller than the pad, but it gets the point beyond. Lastly, once washed with the rotary, you can catch a microfiber towel and wrap it effectually the pad, and then wring out the pad so the water is absorbed by the towel.

At that place you have it. The pads will soon be dry and perfectly clean, gear up for the next polishing job.
As ever, thanks for reading and be sure to leave any questions or comments in the section below.

Source: https://www.detailedimage.com/Ask-a-Pro/pad-cleaning-during-and-after-polishing/
Posted by: jonesfroweed.blogspot.com
0 Response to "How To Clean Polishing Pad For Drill After Use"
Post a Comment